
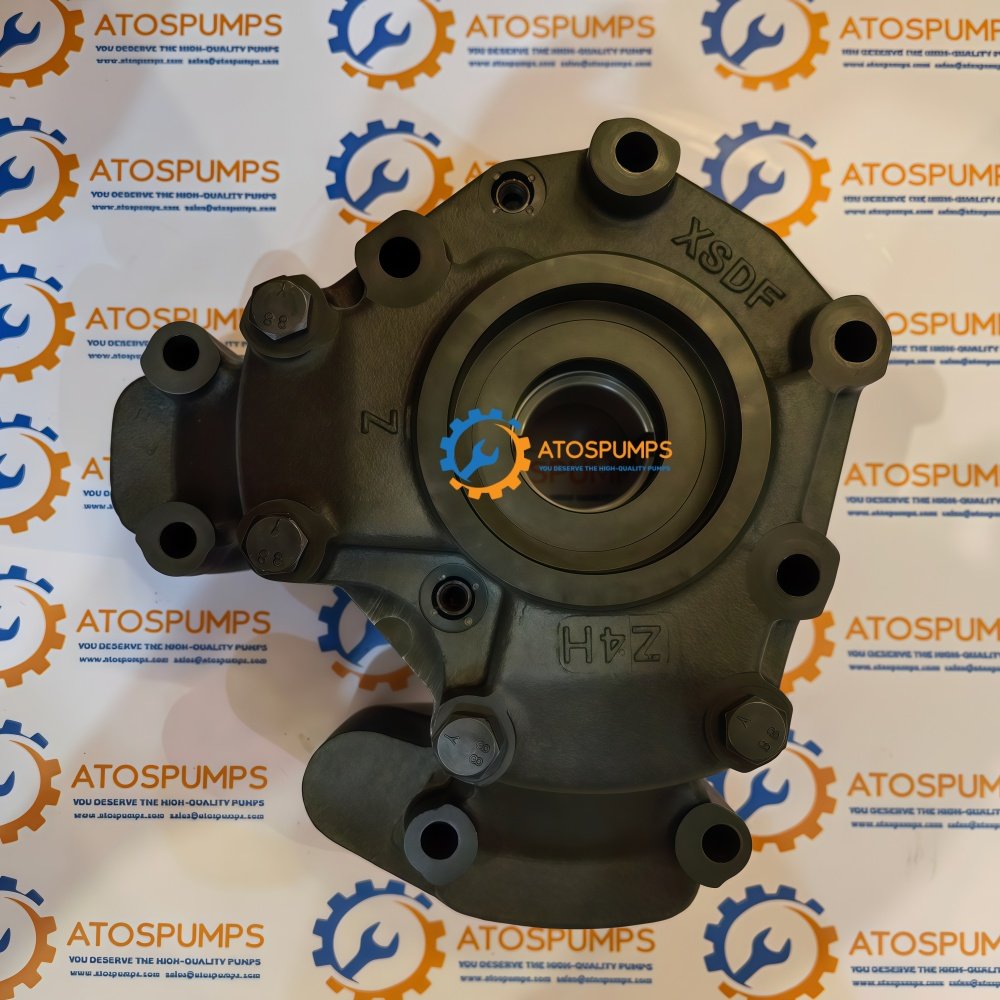

Installing a hydraulic gear pump on a CATERPILLAR wheel loader, a DEUTZ tractor, or a HITACHI excavator is a task that demands precision. A correct gear pump installation ensures full service life, maintains warranty coverage, and prevents the kind of premature failure that sourcing managers across Saudi Arabia, Peru, Mexico, and Morocco dread. A poor installation – misalignment, contaminated lines, or incorrect port plumbing – can destroy a brand-new pump within minutes.
ATOSPUMPS has supported thousands of trouble-free gear pump installation projects worldwide. This guide provides the step-by-step procedure our field engineers recommend, from pre-installation checks to final commissioning. Follow it closely, and your new pump will deliver peak performance for years.
Pre-Installation: The Critical Preparation Phase
Before the new pump even leaves its packaging, complete these checks:
- Verify Part Number and Rotation: Match the pump model, displacement, shaft type, and rotation direction against the machine’s OEM specification. Installing a clockwise pump where a counterclockwise unit is required will result in zero flow and immediate internal damage.
- Inspect for Transport Damage: Examine the pump housing, shaft, and ports. Any impact marks could indicate a dropped package. Rotate the shaft by hand – it should move smoothly with consistent drag, no binding.
- Cleanliness Is Non-Negotiable: The work area, tools, and hydraulic hoses must be spotless. Cap all open lines and ports immediately after disconnecting the old pump. A single grain of sand entering the suction port will score the gears during first rotation.
The Hidden Danger of System Contamination
When a previous pump failed, it may have dispersed metal particles throughout the hydraulic system. Installing a new gear pump without flushing the circuit guarantees those particles will circulate back and destroy the replacement. ATOSPUMPS insists on a full system flush: drain the reservoir, replace all filters, and flush lines with clean hydraulic oil at low pressure until sample analysis shows ISO 4406 cleanliness code -/18/15 or better. This step is non-negotiable for your gear pump installation to be successful.
Step-by-Step Installation Process
Step 1: Mount the Pump to the Prime Mover
Align the pump mounting flange with the engine or gearbox PTO pad. For ZF gear boxes, use the factory dowel pins to center the housing. Insert the coupling half onto the pump shaft with a slip-fit – never hammer it on. If the coupling requires heat for installation, heat only the coupling hub, never the pump shaft, to avoid damaging the shaft seal.
Step 2: Align the Coupling
Use a dial indicator to check radial and angular alignment between the drive and driven coupling halves. ATOSPUMPS recommends a maximum runout of 0.1 mm (0.004 inch) total indicated reading. Misalignment above this threshold will preload the pump bearings and shorten life dramatically. Shim the pump or driver as needed.
Step 3: Connect Suction and Pressure Lines
- Suction Line: The inlet hose must be at least the same diameter as the pump port, with minimal bends. A suction line that is too small or restricted will cause cavitation – audible as a gravel-like noise – and erode gear surfaces. Install a full-flow suction strainer with a bypass indicator.
- Pressure Line: Use hoses rated for at least 1.5 times the system’s maximum relief valve setting. Tighten fittings to the torque specified for the port type (SAE O-ring boss, BSPP, or metric). Over-torquing can crack the pump housing; under-torquing risks leaks.
Step 4: Fill the Pump Case with Oil
Never start a gear pump dry. Pour clean hydraulic oil directly into the suction port while rotating the shaft by hand. This primes the gears and provides initial lubrication. Without priming, the pump may score itself before oil reaches it from the reservoir.
Step 5: Vent Air from the System
Loosen the pressure line at the highest point or open a bleed valve. Crank the engine without starting (or jog the electric motor) until oil seeps out at the vent point. Tighten the connection, then start the prime mover and run at the lowest possible RPM while monitoring the pressure gauge.
Commissioning and Verification
After a successful gear pump installation, let the system idle for 5-10 minutes with no load. Listen for abnormal noise, check for leaks at all connections, and monitor case temperature. Gradually increase pressure to working levels while observing flow and pressure stability. Record baseline readings – these become your reference for future maintenance.
How ATOSPUMPS Design Simplifies Installation
Compact, Space-Saving Footprint
Our gear pumps fit into tight machinery layouts without forcing technicians to remove adjacent components. On a YANMAR combine harvester or DEUTZ log splitter, the compact housing reduces installation time and the risk of interference with belts, hoses, and frame rails.
Simple, Robust Design with Only Two Moving Parts
No complex timing or internal adjustments are needed. Bolt the pump on, align the coupling, connect two hoses – and it’s ready to work. This simplicity is appreciated by fleet workshops in Colombia and South Africa where installation must be fast and foolproof.
High Volumetric Efficiency from the First Revolution
Because our pumps hold their tight clearances right out of the box, you don’t need a break-in period to achieve rated performance. Immediate full-flow delivery gets CATERPILLAR dozers and HITACHI excavators back on the job faster.
Certified Quality and Global Support
Every ATOSPUMPS gear pump is CE and ISO 9001 certified. Installation manuals with dimensional drawings, torque specs, and coupling alignment tolerances are provided with every shipment. For complex gear pump installation projects, our application engineers offer remote video support to guide your technicians step-by-step.
Ready to Install a Pump That Lasts?
Don’t let installation mistakes eat into your equipment’s uptime. Contact us now to check our gear pumps which you are looking for. Send an inquiry for a quotation, start a live chat for immediate technical support, or reach us via WhatsApp and email for bulk order prices. Download the installation manual and product catalog directly from our website – everything you need for a flawless installation in one place.