
A clean transmission pump installation is the difference between a repair that lasts and one that fails in a month. Because a transmission pump sits in a precision-machined bore, the replacement must seat exactly—wrong rotation, a damaged gasket face, or trapped air will wipe out the new unit fast. This guide gives equipment technicians and fleet mechanics a repeatable procedure for a correct, leak-free transmission pump installation, plus the mistakes that cause comebacks.
We assume you are fitting an OEM-dimension replacement. An ATOSPUMPS transmission pump is built for a straightforward, drop-in installation using the original gasket surface and hardware, so no machining or shimming is required—but the steps below still apply to get it right.
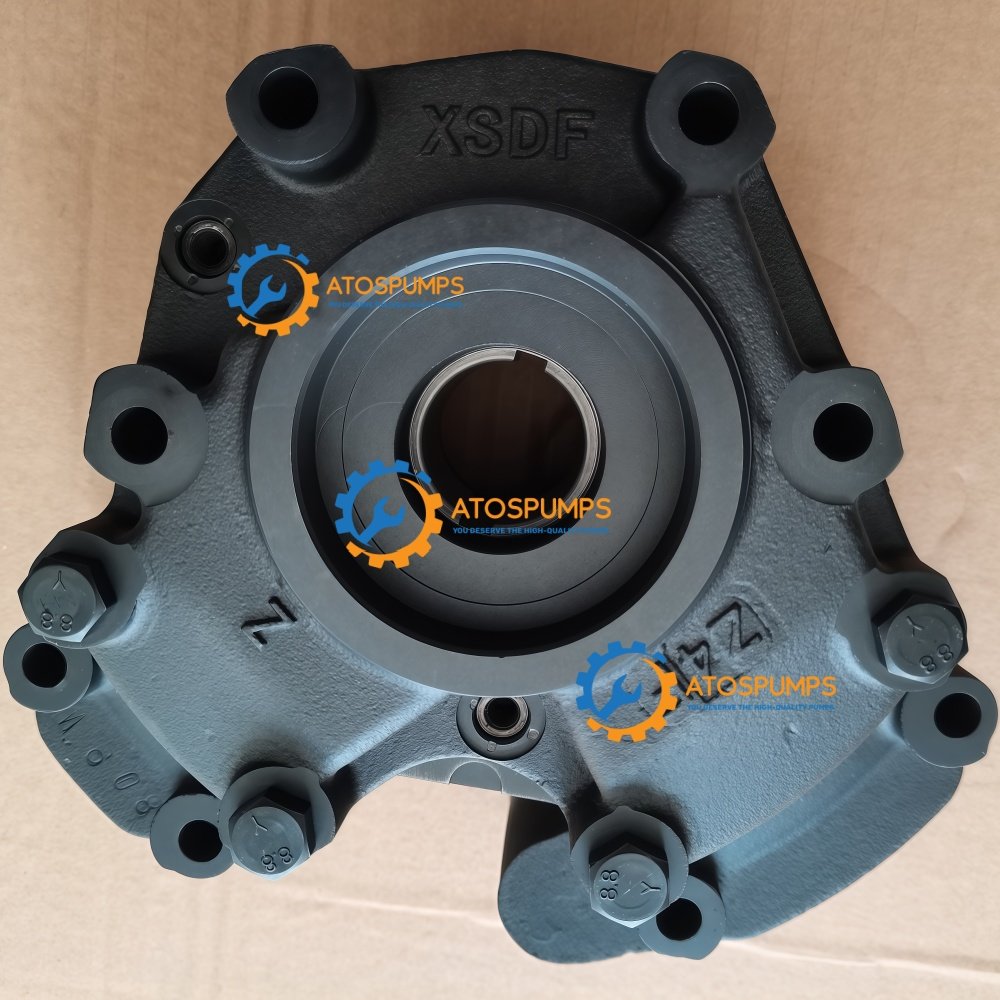
Before You Start: Confirm the Replacement
Do not open the box and start bolting. Verify the new transmission pump matches the machine:
- Make, model, and serial number recorded and matched to the part
- Displacement and maximum pressure equal to the original specification
- Rotation direction (CW or CCW) matching the old unit’s arrow
- Mounting flange and port position identical to the removed pump
ATOSPUMPS ships each transmission pump tested to meet or exceed factory pressure specifications, so once fitted it restores original shift quality.
Tools and Materials
| Item | Purpose |
|---|---|
| Torque wrench + socket set | Bolt the pump to spec |
| New OEM gasket / seal kit | Clean sealing face |
| Transmission fluid (spec grade) | Refill and bleed |
| Clean rags and lint-free wipes | Keep the bore contaminant-free |
| Pressure gauge + test-port adapter | Verify pressure after install |
A transmission pump installation is not the place to improvise. Rushing the bore cleaning or reusing a hardened gasket is the fastest route to a comeback. Set aside uninterrupted time, work in a clean area, and keep the new pump in its bag until the mating face is ready. Contamination introduced during installation is just as damaging as dirt already in the circuit, so treat cleanliness as part of the job, not an afterthought.
Step-by-Step Transmission Pump Installation
Step 1: Isolate and Drain
Park on level ground, release pressure, and drain the transmission to a safe level so fluid does not flood the work area when the pump comes out. Cap open lines to keep dirt out.
Step 2: Remove the Old Pump
Unbolt the pump and note the rotation arrow and any shims. Inspect the old unit: scoring, melted seals, or metal particles tell you whether the failure was the pump alone or a symptom of a contaminated circuit.
Step 3: Clean the Mating Face
This is the step most often skipped. Remove all old gasket material from the transmission housing with a scraper and solvent. Any ridge or leftover fragment will prevent the new gasket from sealing and cause a leak. Wipe the bore with a lint-free cloth.
Step 4: Fit the New Gasket and Pump
Seat the new gasket on the original surface—do not add sealant unless the manual calls for it. Offer up the new transmission pump, start all bolts by hand, then torque in a cross pattern to the specified value. An ATOSPUMPS drop-in unit aligns to the original bore without forcing.
Step 5: Reconnect and Fill
Reattach the suction and pressure lines with new seals. Refill with the correct fluid grade, then cycle the steering or selector slowly to purge air. Low fluid is the fastest way to destroy a fresh pump.
Step 6: Pressure Test
Connect the gauge at the transmission test port. At operating temperature and rpm, pressure should reach the specification. If it is low or unstable, re-check for air ingestion at the suction line before condemning the pump.
Common Transmission Pump Installation Mistakes
- Reusing the old gasket — guarantees a leak; always fit a new one
- Wrong rotation direction — a reversed pump will not prime and can damage the housing
- Skipping the bore clean — leftover gasket ridges break the seal
- Air in the suction line — loose fittings or a cracked hose cause whine and cavitation
- Over-torquing bolts — distorts the flange and the pump will not seat true
After Installation: Break-In and Verification
Run the machine through all gears under light load for the first hour. Listen for whine, check for leaks at the flange, and confirm stable pressure. A correctly installed ATOSPUMPS transmission pump runs with quiet, vibration-free operation that improves driving comfort and protects the valve body.
When Installation Is Not Enough
If pressure stays low after a careful transmission pump installation, the problem is upstream: a clogged suction screen, failed relief valve, or contaminated fluid. Fix the root cause or the next pump will fail the same way. Our transmission pump problems guide helps you diagnose what else is wrong.
Pre-Installation Inspection of the Old Pump
Before fitting the new unit, examine the removed transmission pump. The wear pattern tells you whether the failure was the pump alone or a symptom of a contaminated circuit:
- Scored housing or gears — contamination in the circuit; flush before fitting the new pump
- Melted or hardened seals — overheating; check the cooler and relief valve
- Metal particles in fluid — internal failure; verify the whole circuit is clean
- Intact bore, no debris — likely fatigue failure; the replacement alone solves it
Torque and Sequence
Always torque the mounting bolts in a cross (diagonal) pattern, in two passes: snug all bolts finger-tight, then torque to the manual’s specified value. Over-torquing distorts the flange and the pump will not seat true; under-torquing lets the pump walk and leak. If the manual is unavailable, use the OEM standard for the machine family rather than a generic guess, and confirm rotation and port position one last time before the final tighten.
Post-Installation Checklist
- No leaks at the flange after warm-up
- Stable pressure at the test port at operating temperature
- All gears engage promptly, with no slip
- Fluid level correct and no air noise from the suction side
- Pressure recorded in the service file for trend tracking
Conclusion
A correct transmission pump installation comes down to preparation and discipline: confirm the replacement, clean the mating face, torque to spec, fill and bleed, then verify pressure. With an OEM-dimension, pressure-tested unit and a clean bore, the job is a straightforward drop-in that restores original shift quality and avoids the comebacks that waste time and margin.
Frequently Asked Questions
How long does a transmission pump installation take?
For a qualified technician with the correct seals and tools, a transmission pump installation typically takes one to three hours depending on machine access and whether the circuit needs flushing.
Can I install a transmission pump myself?
Yes, if you have the service manual, a torque wrench, and a clean workspace. ATOSPUMPS units are built to OEM dimensions for a drop-in installation using the original gasket surface and hardware, with no machining required.
Do I need to use sealant on the gasket?
Usually no—a new OEM gasket on a clean face seals without sealant. Only add sealant where the machine manual specifies it, as excess can break off and contaminate the circuit.
Why is my new transmission pump whining after installation?
Whine after a transmission pump installation is most often air in the suction line from a loose fitting or cracked hose, or low fluid. Check suction-side sealing and refill before assuming the pump is faulty.
How do I verify the installation was successful?
Run the machine through all gears, listen for noise, check the flange for leaks, and confirm stable pressure at the transmission test port at operating temperature and rpm.
Need a verified drop-in transmission pump for your next installation? Request a quote from ATOSPUMPS with your machine details, and we will confirm the exact replacement and lead time.