

Introduction: The First Hour Determines the Next 10,000
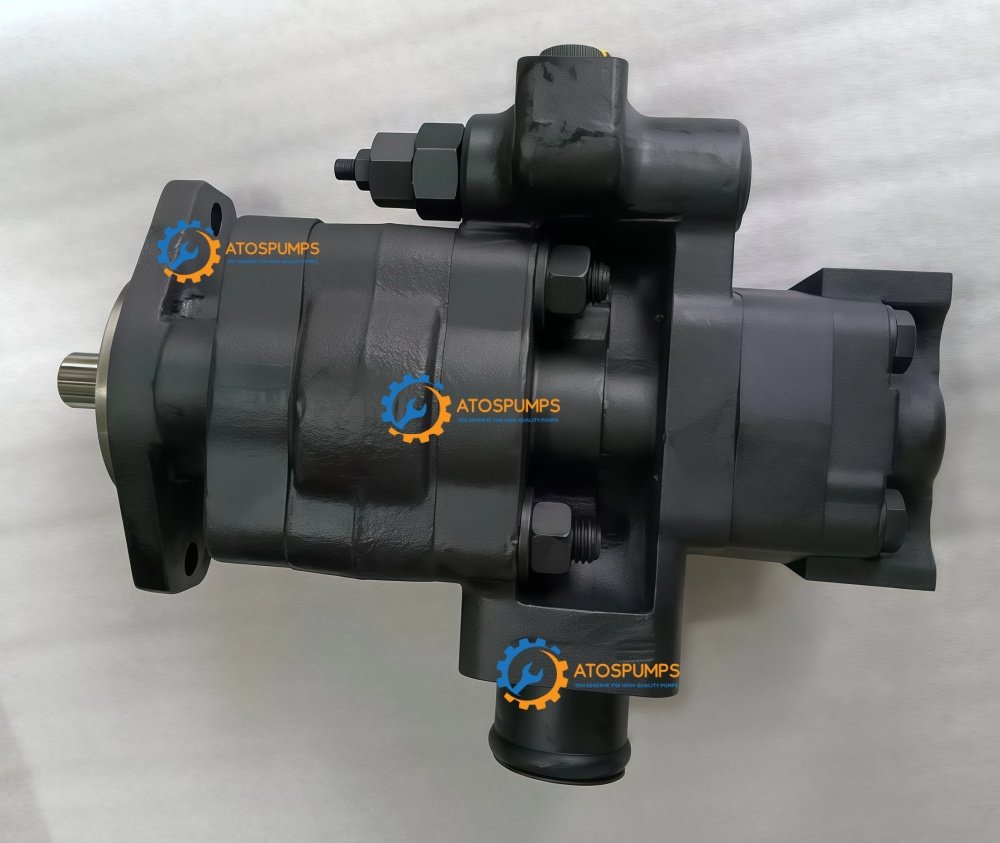
You’ve sourced a premium hydraulic pump from ATOSPUMPS, built with hardened, wear-resistant components and precision-machined to guarantee tight volumetric efficiency. It arrives at your workshop in Mexico, Saudi Arabia, or South Africa, ready to breathe life back into a Komatsu wheel loader, a JCB backhoe loader, or a Toyota forklift. What happens in the first hour of installation will either set that pump on a path to a long, trouble-free service life or doom it to premature failure. This guide provides a step-by-step hydraulic pump installation procedure that any competent technician can follow, ensuring your machine supports heavy load lifting, pressing, and transfer with ease from the very first cycle. ATOSPUMPS technical support team has distilled decades of field experience into this protocol—follow it rigorously.
The Frequent Installation Errors That Destroy New Pumps
Time and again, we’ve seen pumps returned for warranty examination with damage that tells an unmistakable story: the pump was started dry, the suction line was left open to dirt, or misalignment forced the shaft to bend under load. The problem is not the pump quality; it’s the installation environment. A pump is a close-tolerance assembly. Ingestion of a single grain of sand or a dry start that runs the rotating group without lubrication for 15 seconds can score the valve plate beyond repair. Another common error on Komatsu excavators or John Deere backhoes is neglecting to replace worn couplings or dampers, which transmits destructive vibration to the pump shaft. Understanding these pitfalls is the first step toward avoiding them.
Pre-Installation: System Cleaning and Preparation
Assess System Cleanliness
Before removing the old failed pump, analyze the hydraulic oil. If the oil is dark, smells burnt, or shows visible metallic particles, the entire system is contaminated. Do not install a new pump into a dirty system. Drain all fluid. Remove and replace all filters. Flush the system with a low-viscosity flushing fluid using an external filtration cart until the oil reaches a cleanliness level of ISO 18/16/13 minimum. This is mandatory, not optional.
Inspect the Suction Line and Tank
Check the suction hose for internal collapse, which can starve the pump. Ensure the suction strainer inside the tank is clean. Any restriction here causes cavitation—a leading cause of pump failure. For pumps that support heavy load lifting like those on Komatsu bulldozers, even a slight suction vacuum can drop the volumetric efficiency dramatically.
Prepare the Mounting Surface
Remove any gasket remnants and clean the mounting pad on the engine or gearbox. Burrs or uneven surfaces can distort the pump housing. Use a new OEM-quality O-ring or gasket. ATOSPUMPS includes the correct seal in the box; do not reuse old ones.
Step-by-Step Hydraulic Pump Installation Procedure
Step 1: Pre-Fill the Pump with Clean Oil
Pour fresh, filtered hydraulic oil directly into the pump’s inlet port while slowly rotating the shaft by hand. This ensures immediate lubrication of the internal components upon start-up. Never install a dry pump. For large displacement pumps on Komatsu trucks or excavators, this step is critical.
Step 2: Align and Torque the Mounting Bolts
Mount the pump loosely. Engage the coupling or spline by hand, ensuring there is no binding. Tighten the mounting bolts in a crisscross pattern to the manufacturer’s specified torque. Misalignment of even 0.2 mm can cause bearing failure. Use a dial indicator if possible to verify concentricity.
Step 3: Connect Inlet and Outlet Lines Correctly
Install the suction hose with no sharp bends. Ensure all connections are tight but not overtightened—galled threads can leak. If the pump has a case drain line (typical on piston pumps for excavators), connect it directly to the tank, well below the minimum fluid level to prevent siphoning.
Step 4: Bleed Air from the System
With the engine or motor disabled from starting, crank the prime mover in short bursts while loosening the highest pressure line fitting slightly, allowing air to escape. Retighten when bubble-free oil appears. This prevents the pump from compressing air, which generates extreme heat and damages seals.
Step 5: Start-Up and Break-In Procedure
Start the engine and run at the lowest possible RPM with no load for 5–10 minutes. Monitor for abnormal noise, leaks, and temperature. Then gradually cycle all functions, raising the pressure to half of maximum, then full pressure over the next 30 minutes. Check the case temperature frequently. A rapid temperature spike indicates internal friction—stop and investigate. ATOSPUMPS recommends a filter change after the first 50 hours of operation to capture any initial wear particles.
Why ATOSPUMPS Pumps Forgive Minor Mistakes Less Than Others
This isn’t a weakness; it’s a sign of precision. Because our pumps feature precision-machined internals guaranteeing tight volumetric efficiency, the clearances are optimized for high performance. This demands clean oil and correct alignment, but the reward is an efficiency that translates directly into fuel savings and faster cycle times. The hardened, wear-resistant components then ensure that once the pump is installed correctly and subjected to regular hydraulic pump maintenance, it will outlast generic alternatives by a wide margin.
Installation Checklist for Multiple Machine Types
- TOYOTA forklift: Verify that the pump rotation matches the engine rotation. Install new suction strainer.
- REXROTH/NACHI excavators: Pay special attention to pilot pump connections if combined unit. Pre-fill both sections.
- New Holland / Massey Ferguson / Kubota tractors: Ensure the PTO-driven pump shaft alignment; misalignment kills PTO bearings.
- Komatsu bulldozers / wheel loaders / trucks: Case drain line routing must have a continuous downward slope to the tank to avoid oil trapping.
- JCB / John Deere backhoe loaders: Prime the pump before mounting if horizontal installation makes pre-filling difficult.
Integrating Installation with Ongoing Maintenance
After a successful hydraulic pump installation, immediately take an oil sample and mark it as the baseline. Schedule the first oil and filter change at 50 hours, then follow the maintenance plan from our previous article. Document all pressure and flow readings. This data will be invaluable when you eventually look for a replacement hydraulic pump for sale from ATOSPUMPS, as it helps us diagnose any system issues early.
Global Support and Remote Assistance
If your technician encounters an issue during installation on a John Deere backhoe in Peru or a Komatsu loader in the UAE, ATOSPUMPS offers remote video support. We can walk your mechanic through alignment checks, troubleshooting abnormal noise, or verifying hydraulic connections. We are committed to making every installation a success, because your uptime is our reputation.
Install with Confidence, Contact Us Today
Don’t let a botched installation rob you of pump performance. If you’re about to install a new pump and have questions, contact us now to check our hydraulic pumps which you are looking for and request the detailed installation manual specific to your machine model. Start a live chat on our site, email us, or send a WhatsApp message for immediate technical guidance. Subscribe to our weekly blog updates for more installation tips and product news. Get it right the first time—reach out to ATOSPUMPS now.